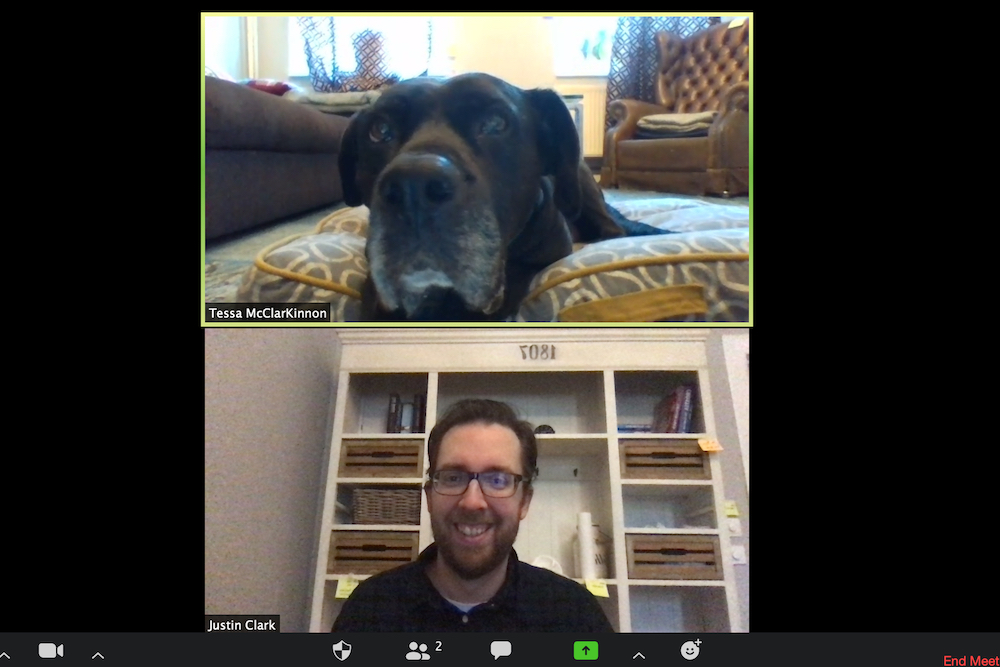
Many nonprofit organizations are relying on Zoom as a video technology tool for continuing programs, checking in on constituents, and internal meetings. As you may have heard, Zoom has had some safety and privacy issues.
In this post, we reference “Zoombombing” or “Zoom raiding.” This is when a disruptive person (or people) join your meeting and try to interrupt it. While most disruptions are over audio, if you don’t have Zoom set up correctly, strangers can share their screen. A member of the SCC team was on a call led by a city agency, and a user shared pornographic videos and violent graphic images that upset many participants.
Some organizations may not be able to pivot to another platform due to budget or technology constraints. If you are using Zoom, we outline some steps you can take to strengthen your security and safety. Please don’t only follow these tips. We suggest you spend time going through each setting and determine what is best for you and your nonprofit organization.
Setting up Your Account
You can edit the settings in your account by logging into your Zoom account through an internet browser. After logging in, click the image in the top right corner and then click on your Name and Email Address. This allows you to edit your user account. Click on “Settings” in the column on the left part of your screen.
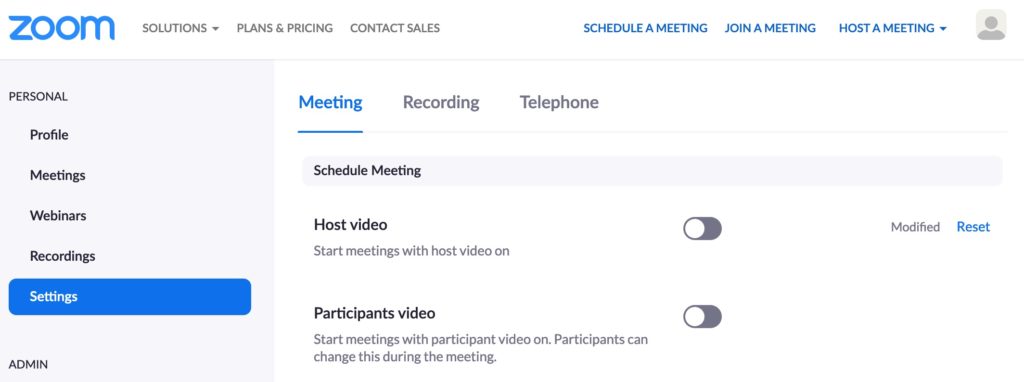
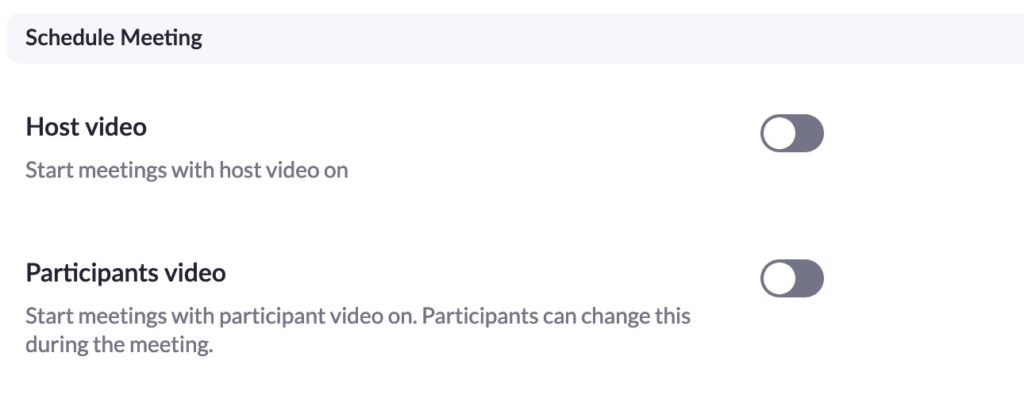
Ensure that “Host video” and “Participants video” are turned off
This ensures that participants and you – the host – will not have video automatically start when you join a Zoom call. The host and participants will be able to turn on your video at any time. Ensuring that it does not automatically start when someone joins provides a level of safety and security for all participants.
Ensure that “Join before host” is turned off
We recommend turning off this feature so that individuals who may be trying to disrupt your session are unable to join before the host gets there.

Only authenticated users can join meetings
There is an option to authenticate users before joining the meetings. This may depend on your organization and how secure you need things to be. If you are conducting Zoom meetings with constituents or community members who do not regularly use Zoom, you could skip this option as it may be challenging for individuals to join. If all of your Zoom meetings are internal and with colleagues, board members, and volunteers that have Zoom accounts, you could consider this option for an additional layer of security.
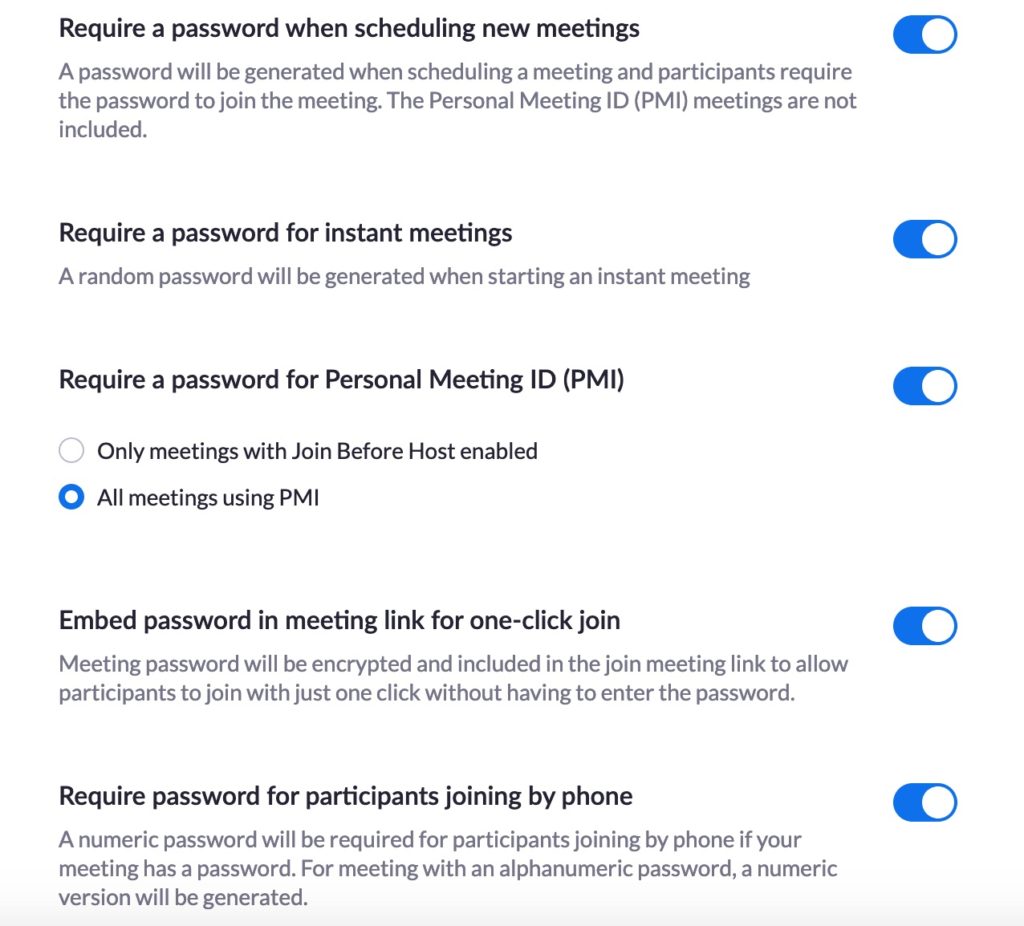
Turn on four of the five password fields
We recommend turning on these options:
- Require a password when scheduling new meetings
- Require a password for instant meetings
- Require a password for Personal Meeting ID (PMI) – and select “All meetings using PMI” for this
- Require password for participants joining by phone
Turning off “Embed password in meeting link for one-click join” is up to you based on your risk assessment. If you are using your account for mostly one-to-one or small group meetings and have minimal risk, it is a convenience to send a link with the password embedded.
However, if you plan to send a meeting to a group of participants that you do not know or if the Zoom call will be publicized in any way, you should not sure a link that has the password embedded.
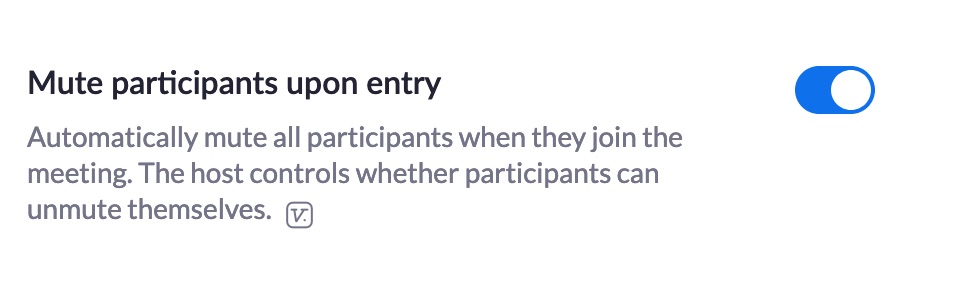
Turn on “Mute participants upon entry”
This is helpful to minimize disruptions if someone in a loud setting joins your meeting. Again, users will be able to unmute themselves.
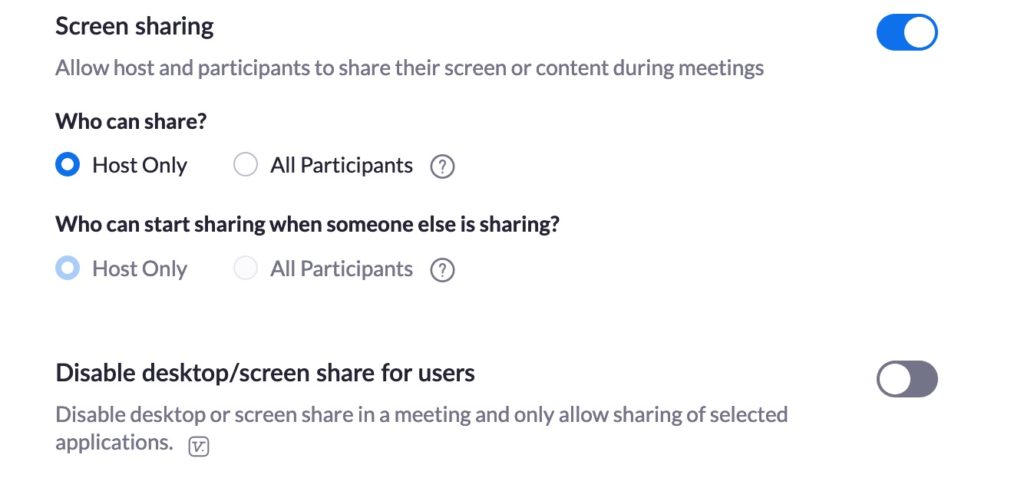
Set screen sharing to “Host Only”
This is the most common issue that causes visual Zoombombing. If all participants can share their screen, participants can take over your presentation and share disruptive materials.
Determine the chat settings and file transfer options that best meet your organizational needs
There are three settings related to chat. You should review these options to determine what best fits your needs. If you want to use chat and transfer files as a communication tool during your meetings, then set it up to accommodate this. However, if you’re going to be hosting large Zoom meetings with a lot of constituent members, we recommend turning off the private chat and file transfer. This will increase safety and security.
Add the co-host option only if you will have a co-host
Co-hosts can be very helpful in Zoom meetings – especially large ones. If you have one person “hosting” the meeting, it may be beneficial to assign someone to help coordinate incoming questions, manage participants joining, and mute participants who may be adding a lot of background noise. If your meetings are small, turn this functionality off.
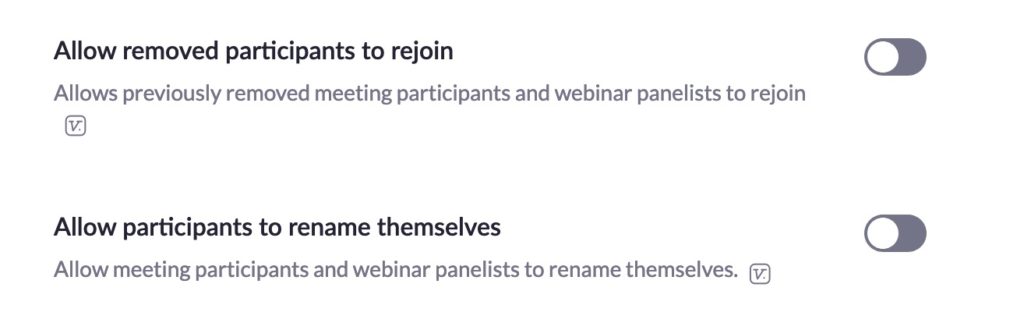
Turn off “Allow removed participants to rejoin” and “Allow participants to rename themselves”
If you need to remove someone from your meeting, don’t allow them to come back in. Allowing participants to rename themselves will enable people who Zoombomb your meeting to change their name to try and hide from being removed.
Allow “Virtual background”
Zoom provides an option for users to replace their background with any selected image. This feature has received a lot of attention for the opportunity to provide humor (a few examples). This is an important safety and privacy choice for your users. Some employees, volunteers, or constituents you serve may be uncomfortable having their living space seen by others.

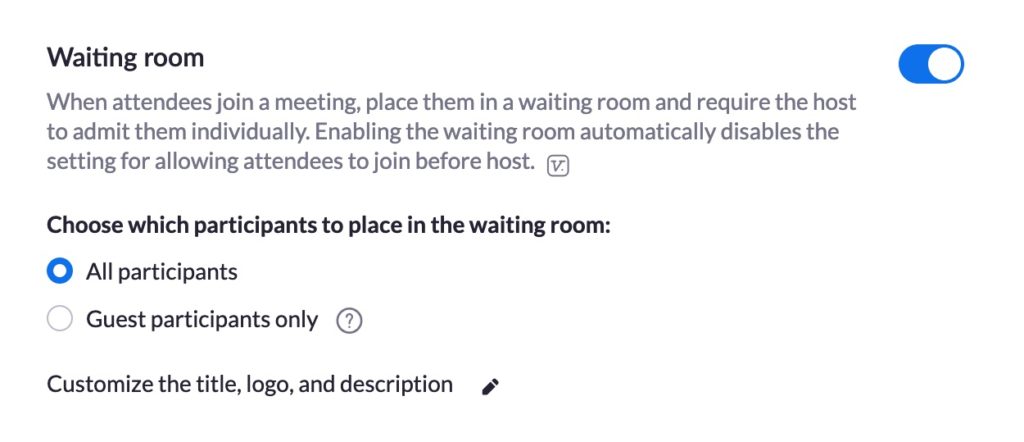
Turn on “Waiting room” for all participants
This is another safety measure to ensure that you’re only allowing people you know to join the meeting. This option may be more difficult for organizations that are hosting large numbers of people in a session. If that is your situation, you can assign a colleague to be a co-host and manage the admittance process.
Managing Your Meetings
Whenever possible, keep your Meeting ID private
Unless you are inviting the general public to your Zoom, it is best to keep your Meeting ID private. This minimizes potential issues. When are you are sending the Meeting ID, send it just to the individuals you would like to join.
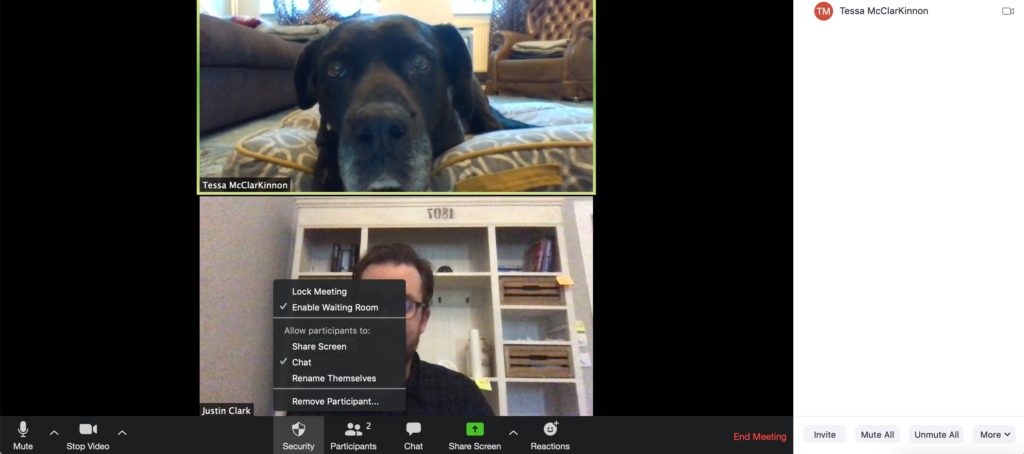
If everyone has joined, lock the meeting
One of the best ways to secure your meeting is to lock it after all participants have joined. Click the Security button on the bottom of the screen and select Lock Meeting to do this. You can also do this by clicking the More button in the bottom right corner.
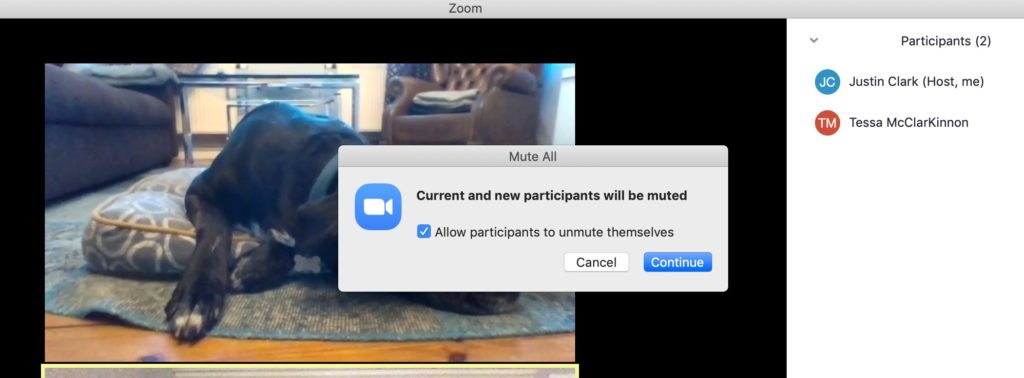
Don’t be afraid to mute everyone
There may be times during your meeting, where there is a lot of background noise. If that happens, do not hesitate to mute everyone. Individuals can then self-select to unmute themselves when it is their time to talk. This is especially important during meetings with a lot of attendees. Users, especially those that do not participate in conference calls or video chats often, may not be aware that muting when you’re not speaking is the best practice.
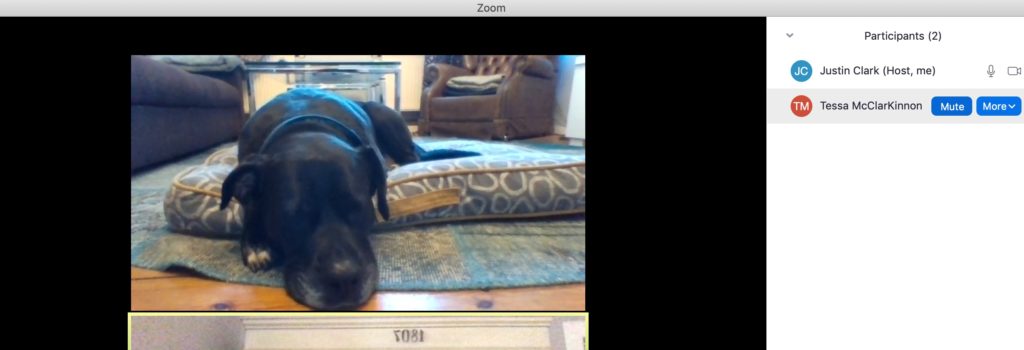
Mute one person if needed
If you realize there is one person in your group who is causing the background noise, you can mute them by using the features under the participant option. This often comes up if one participant is outside and doesn’t realize how much traffic or wind may be affecting their audio quality.
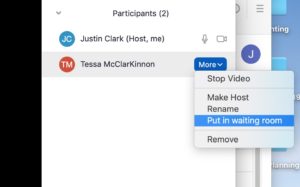
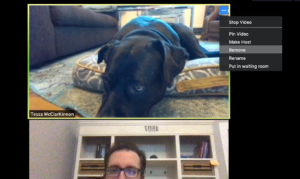
Remove disruptive participants
If someone is disrupting your meeting, there are a few options to remove them. You can hover over their name and click remove. You can also right-click on their image and select remove.
As a final reminder, please don’t only follow these tips. We suggest you spend time going through each setting and determine what is best for you and your nonprofit organization.
Editorial note: This post was published on April 22, 2020. Zoom changes settings and layouts periodically.
Photo Credit: Screenshot taken by Justin Clark.

Justin (he, him) is a Principal and Co-Founder of Social Change Consulting. He has over fifteen years of nonprofit experience, with expertise in online fundraising, digital communications, and data management. Justin helps organizations connect their communication strategy to their income development needs. When he’s not on the clock, Justin is exploring Berlin, running, listening to too many podcasts, and drinking too much coffee.